Rendering
Rendering is available for showing your model as if it was photographed or sketched. If you render to look like a photo, this is called photorealistic rendering. Flamingo nXt is an example of a photorealistic render plug-in for Rhino. If you render to look hand sketched, this is called non-photorealistic. Penguin is an example of this type of render.
Both types of renderers are available as plug-ins for Rhino. The built-in Rhino renderer may be good enough for much of your work. If not, use another rendering program such as Flamingo nXt, V-Ray, Maxwell, Brazil or other plug-ins for higher quality results. Plug-ins for Rhino are listed on the Resources page of the Rhino web site.
Apply materials
Rhino’s built-in renderer uses materials with color, gloss and transparency settings, spotlights, displays shadows, and does anti-aliasing. It also allows the attachment of textures and bump maps. In this exercise we will focus on the full rendering capability.
Exercise 69—Practice rendering a model
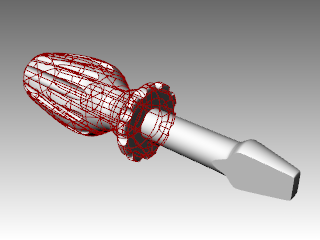
- Open the model Render.3dm .
- From the Render menu click Current Renderer, and then click Rhino Render .

- Right-click on the Perspective title bar, and then click Rendered display.The viewport mimics but does not exactly duplicate what you will get in a Render.
To assign a material to the handle by object
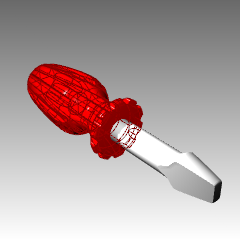
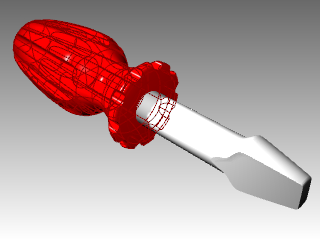
To render the handle in color, we will first assign a red glossy material to the handle object. This material assigned to the object will override any material that might be assigned to the layer of the object.
- Select the handle.
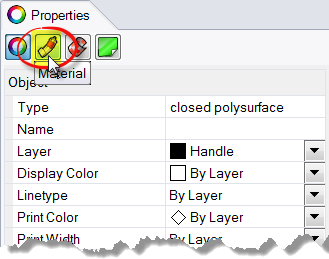
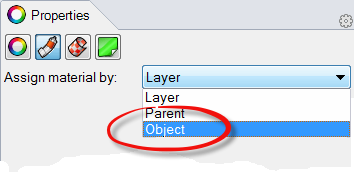
- In the Properties panel, click the Material button.

- On the Material page box, at Assigned material by, choose Object.
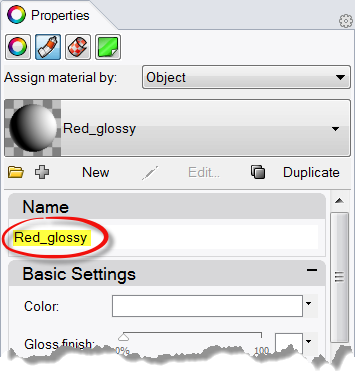
- From the Material page, in the name field type Red_glossy .
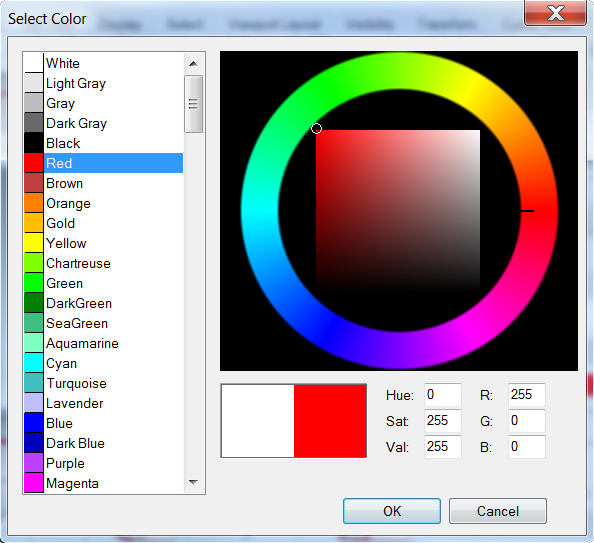
- Next click the Color swatch.
- In the Select Color dialog box, select a color, like Red, and click OK .To give the handle a highlight, change the Gloss finish setting.
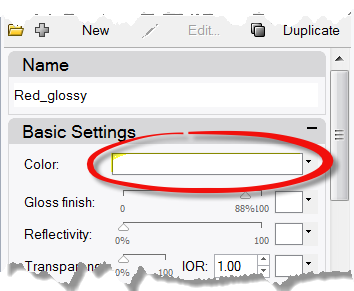
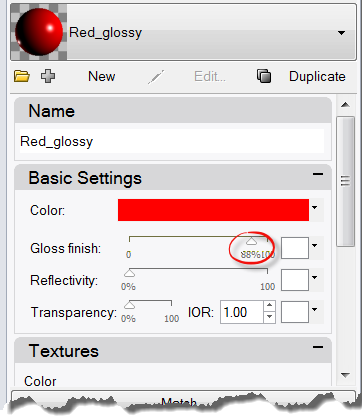
- Change the Gloss finish setting slider to value between 80 and 90 .A gloss finish of 0 means that the object is not shiny at all and it will not have a specular highlight. A low value of gloss finish makes the shiny spot to be small, and the object will look glossier. As the gloss finish increases in value, the shiny spot gets larger—this makes the object look more like it is made out of a reflective material.The shiny spot only appears when you are looking at an object at a certain angle relative to the angle of the light.
- From the Render menu click Render .
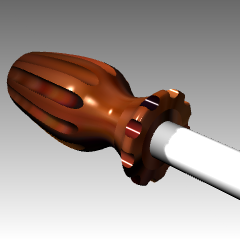
 A display window appears with the current viewport rendered in colors, but it will probably lack detail. You can close the Display Window without disturbing your model. Placing lights will add depth and detail to the rendered image.
To assign a material to the blade by layer
To render the blade in color, we will next assign a yellow glossy material to the blade layer. All the objects on the blade layer that do not have an object material override, are rendered in the material. That is an advantage of rendering with material set to by layer. Changing the layer’s material will result in all the objects on that layer updating.
- Select the blade.
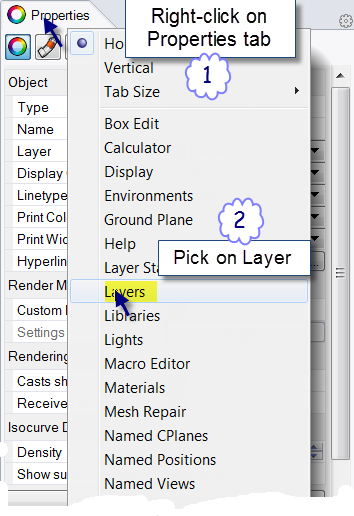
- Right-click on the Properties panel.
- From the right-click menu choose Layers .

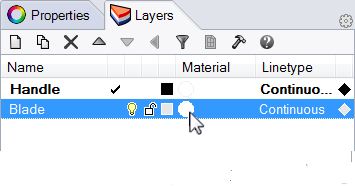
- In the Layers panel, click the Material icon.
- In the Layer Material dialog, type the name Yellow_glossy .
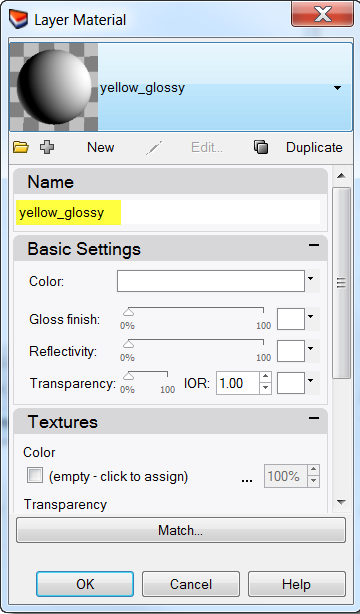
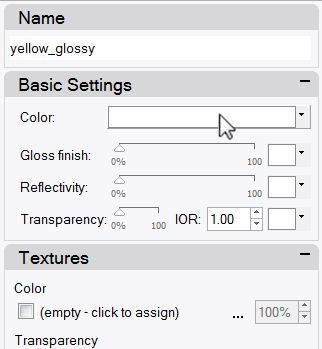
- Under Basic Settings, click the Color swatch.
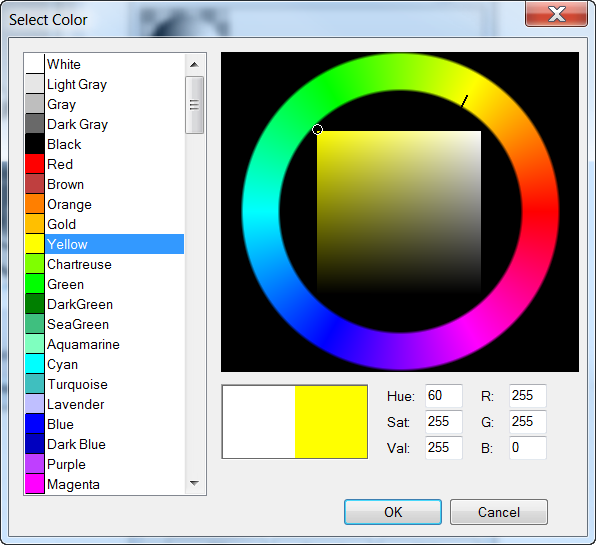
- In the Select Color dialog box, select a color, for example, Yellow, and click OK .
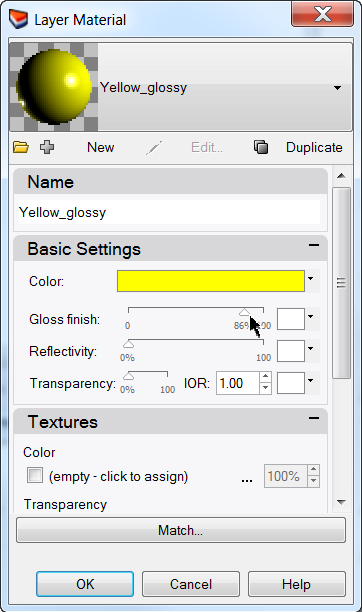
- Change the Gloss finish slider to value between 80 and 90 .
- From the Render menu, click Render .

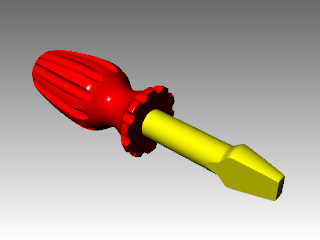
To add a new material to a layer
- In the Layers panel, click the Material icon.
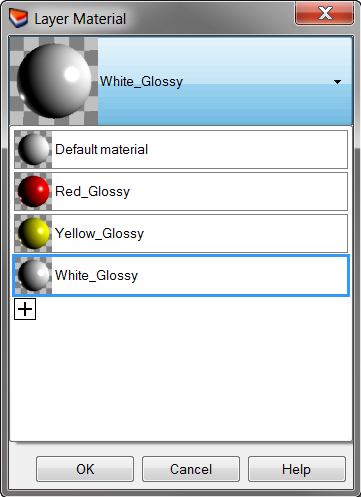
- In the Layer Material dialog, click the down arrow next to the Yellow_Glossy material.
- When the list of materials appears, click Default material.It’s best to use the Default material when making new materials.
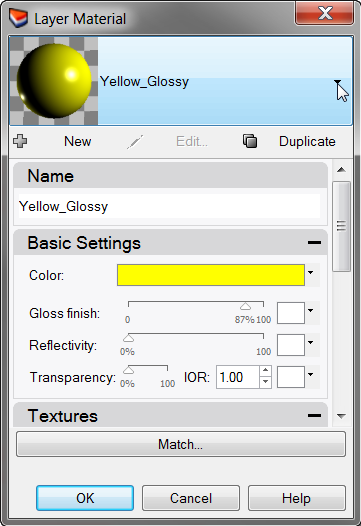
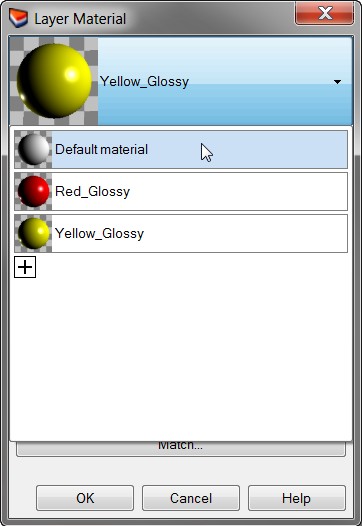
- In the Name box type White_glossy, and change the Gloss finish slider to value between 80 and 90 .
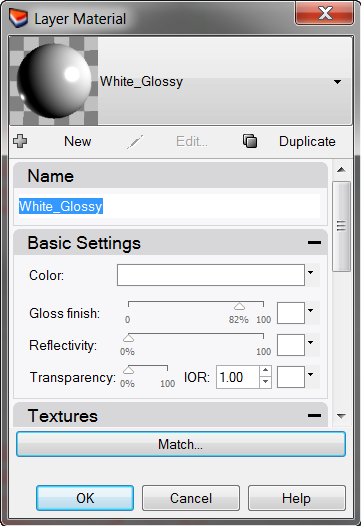
- Render the model.
- The next time you click the down arrow for a material listed in the Layer Material dialog, you will see a list of the Default material and the three materials you just created.You can switch between the any of the materials in the model or make a new one at any time. This works whether you are assigning the material by layer or object.
Add lights
Start with a standard lighting scheme. You can experiment to develop your own lighting schemes later.
To place a light
- Zoom out in the Top and the Front viewport.
- Change to the Lights layer.
- From the Render menu click Create Spotlight .

- For the Base of cone, type 0 and pressEnter.
- For the Radius, pick a point so that the circle is larger than the entire screwdriver in the Top viewport.
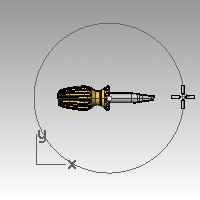
- For the End of cone, hold down theCtrlkey, and pick a point below and to the right in the Top viewport.This starts elevator mode.
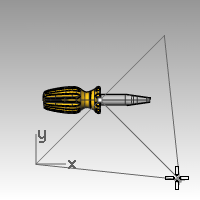
- For the End of cone, pick a point above the object in the Front viewport.This will be your main light.
- Click in the Perspective viewport.
- From the Render menu click Render .The image has some highlights and shadows.
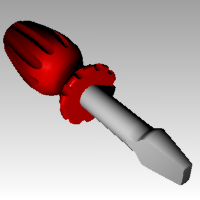
To place a second light
- Zoom out in the Top and the Front viewport.
- From the Render menu click Create Spotlight.
- For the Base of cone, type 0 and pressEnter.
- For the Radius, pick a point so that the circle is larger than the handle of the screwdriver in the Top viewport.
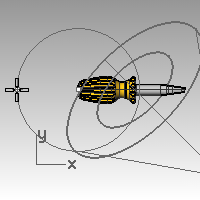
- For the End of cone, hold down theCtrlkey, and pick a point below and to the left in the Top viewport.This starts elevator mode.
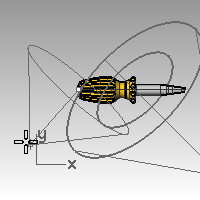
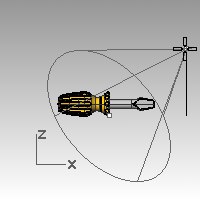
- For the End of cone, pick a point above the object in the Front viewport.This will be your secondary (fill) light.
- Click in the Perspective viewport.
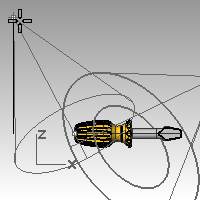
- From the Render menu click Render .
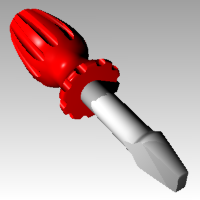
To assign properties to the light
- Select the new light.
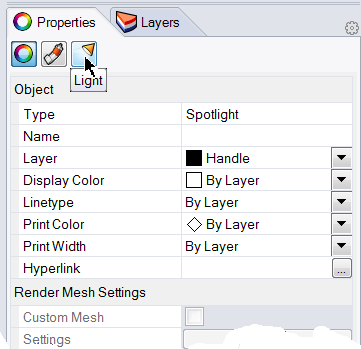
- In the Properties panel,, click the Light page.
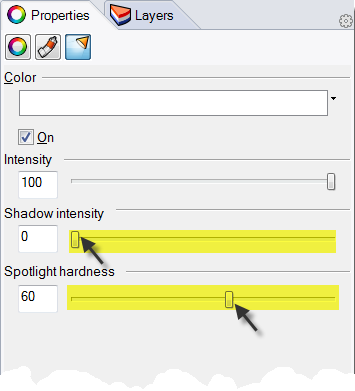
- On the Light page, change the Shadow intensity to 0 and the Spotlight hardness to 60 .Experiment with these settings to get the desired effect.
- Click in the Perspective viewport.
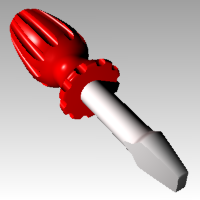
- From the Render menu click Render .
Add textures
To add a bumpy surface to the handle
- Select the handle.
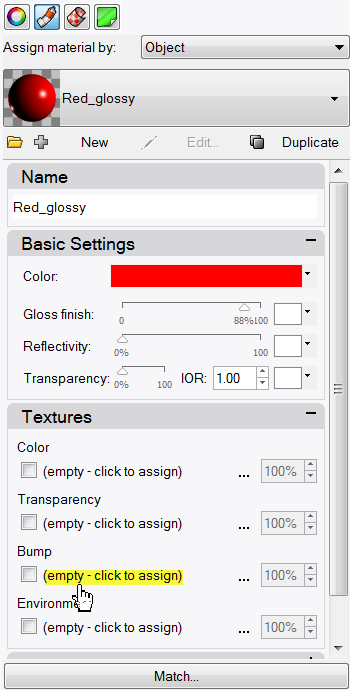
- In the Properties panel, click the Material button.

- In the Material Editor page, under Bump, click (empty-click to assign).
- In the Open dialog box, select cell2.bmp, and then click Open. Note: You can use any bitmap file for a bump. The bumps come from the pattern of light and dark in the bitmap image.
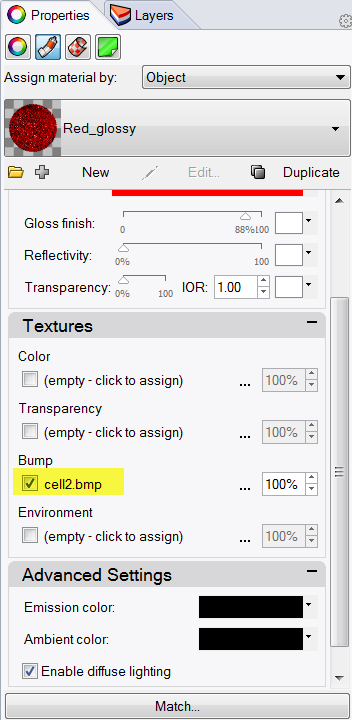
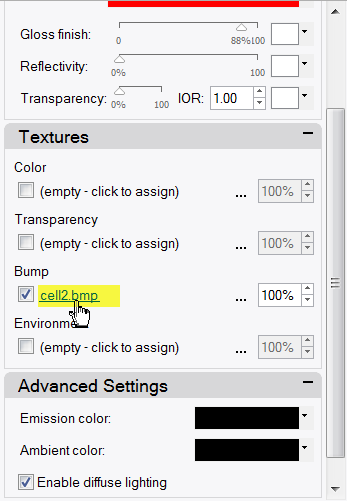
- In the Material Editor dialog box, under Bump, click cell2.bmp.
- In the Mapping area, change the U Repeat to 2 .0 and the V Repeat to 2 .0, click OK .
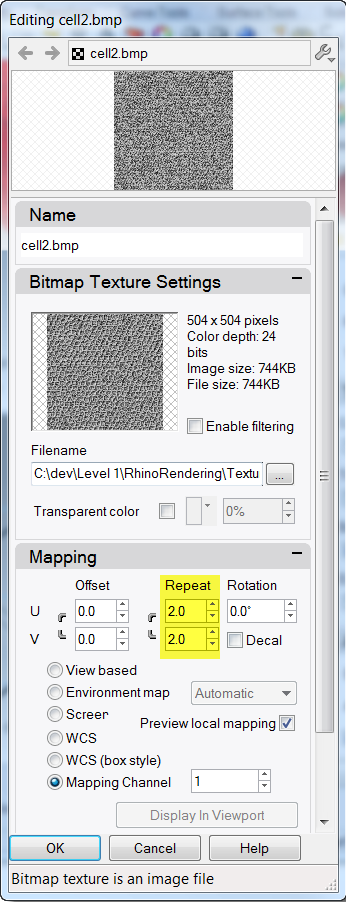
- The Rendered display will update to display the bump.The surface of the handle has a bumpy appearance, however the color of the material and gloss setting is still used.
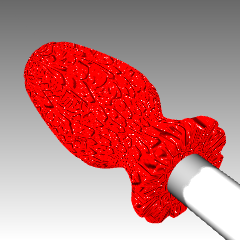
- From the Render menu click Render.
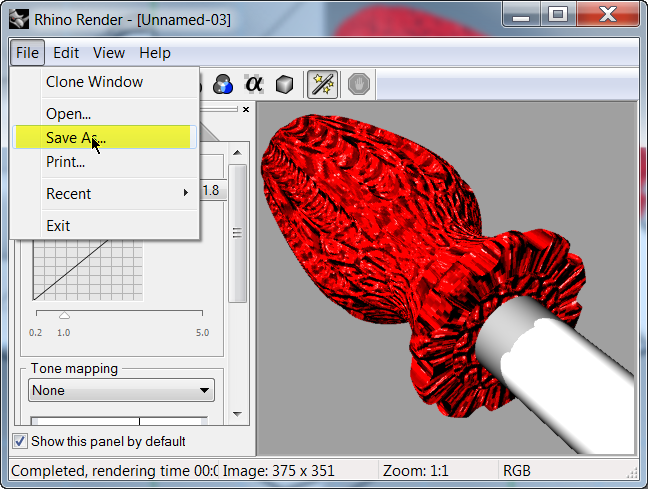
- From the File menu in the Render dialog, click Save As .
- Under Save as type, click PNG. Type your file name and location.
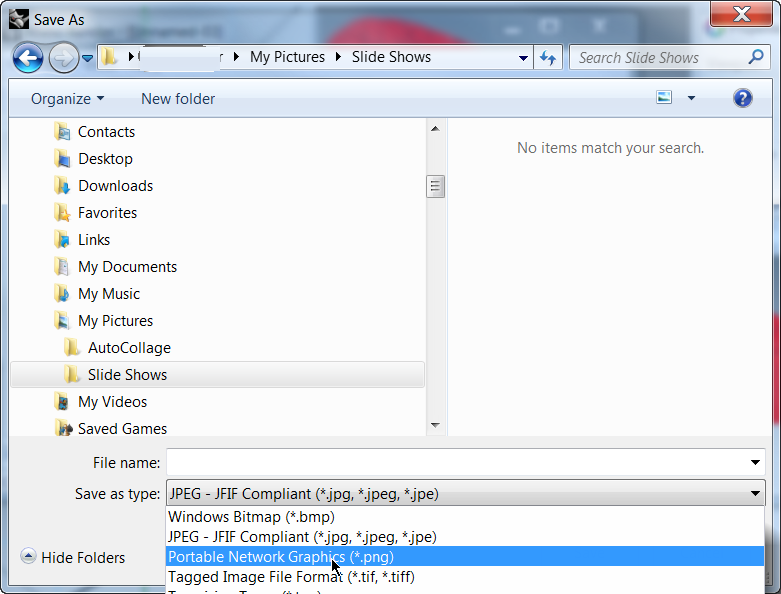
- Click Save button.
To add a texture to the handle
- Select the handle.
- In the Properties panel, click the Material button.

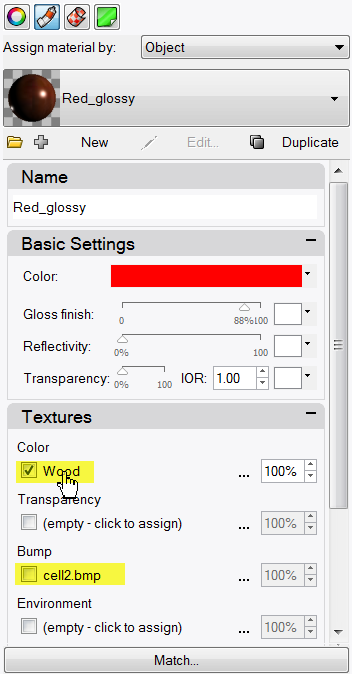
- In the Textures area, clear the Bump check box.
- In the Textures area, for Color click (empty click to assign ) .
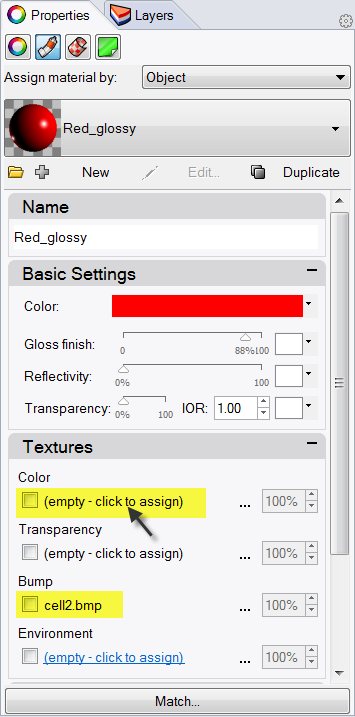 Cleart Bump and click to assign Color texture.
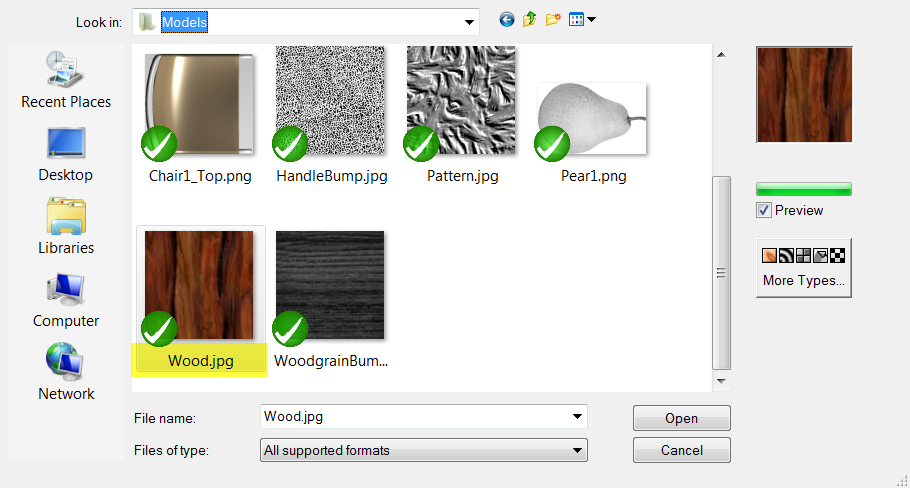
- In the Open Bitmap dialog box, select Wood.jpg, and then click Open .Wood color texture is mapped to handle.


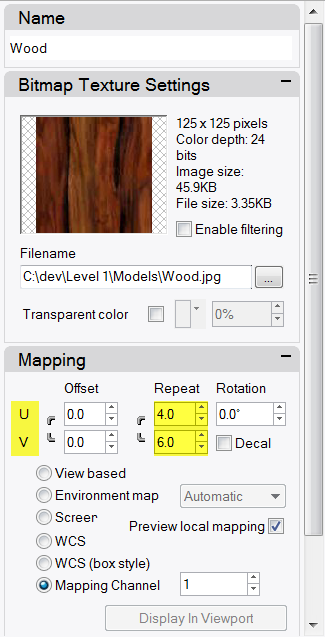
- Click Wood to open the Editing Wood dialog.
- In Mapping area, set the U Repeat to 4 and the V Repeat to 6.
- Click OK to close the Editing Wood dialog.


- From the Render menu click Render or use a Rendered viewport.The surface of the handle has a wood texture appearance tiled at 4 times in the U and 6 times in the V.

To make the wood handle transparent
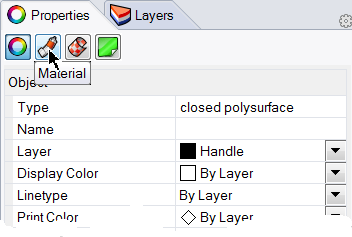
- Highlight the handle. In the Properties panel, click the Material button.
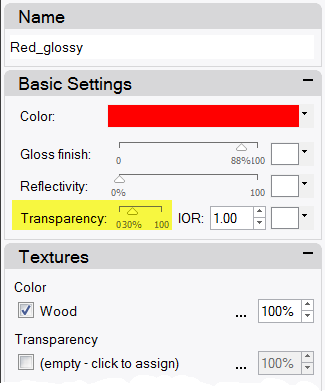
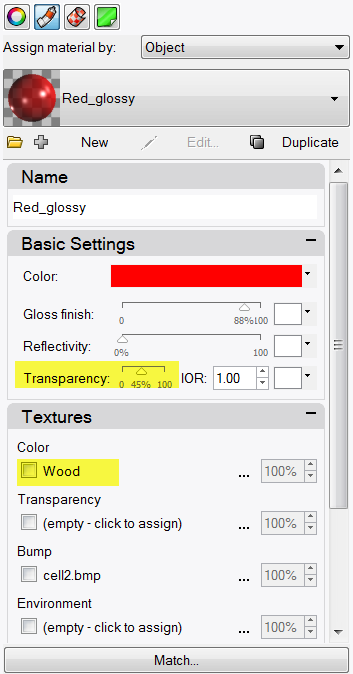
- In the Basic Settings area of the Material Editor dialog box, change the Transparency slider to 30 .


- Click back into the graphics area.
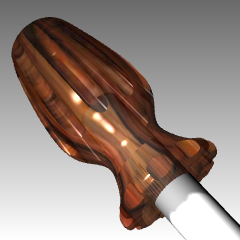
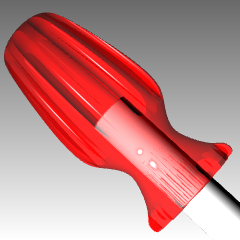
- From the Render menu click Render .The handle will look transparent with the Wood texture.

To make the red handle transparent
- Highlight the handle. In the Properties panel, click the Material button.
- In the Basic Settings area of the Material Editor dialog box, change the Transparency slider to 3 0 and uncheck the Color texture.


- Click back into the graphics area.
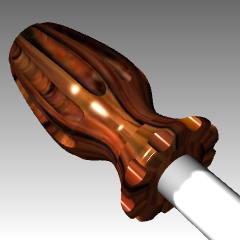
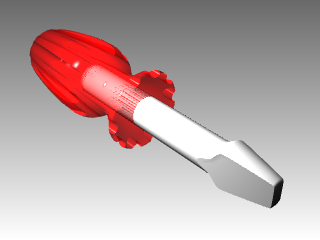
- From the Render menu click Render .The handle will look transparent with the red glossy material.


Use a groundplane
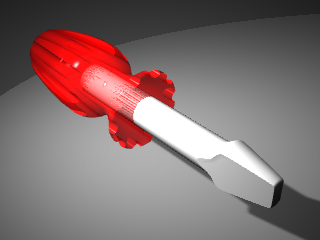
The Rhino Render has a ground plane option. The ground plane provides an infinite horizontal platform for the image that stretches to the horizon in all directions positioned at a defined elevation. A ground plane renders much faster than using a surface as a background. Any material can be assigned to the ground plane.
Adding a ground plane
- Right-click Properties panel tab.
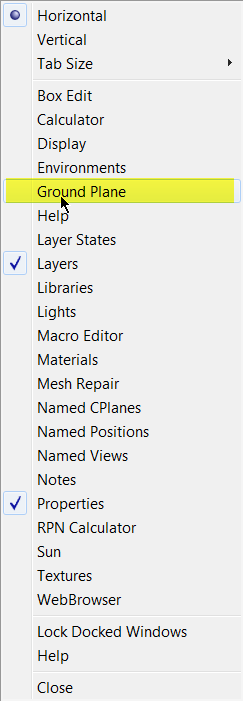
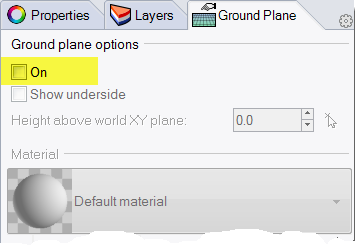
- Click the Ground Plane panel.
- In Ground Plane panel check the On box.The viewport will display a ground plane. Assign a material.
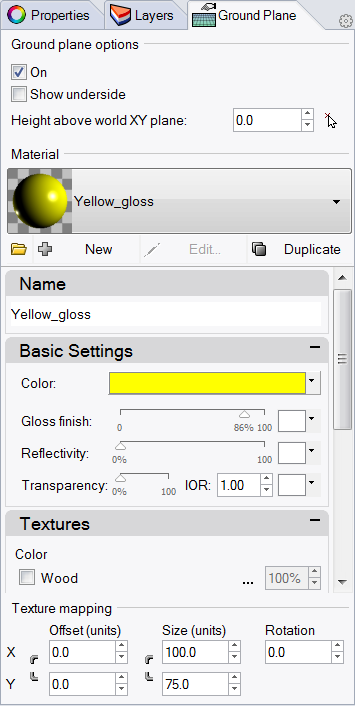
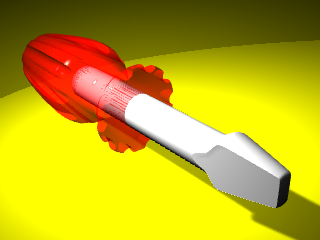
- In the Material area assign the existing yellow_glossy, a material created earlier in this exercise.Viewport will now show a yellow glossy ground plane.


- From the Render menu click Render .

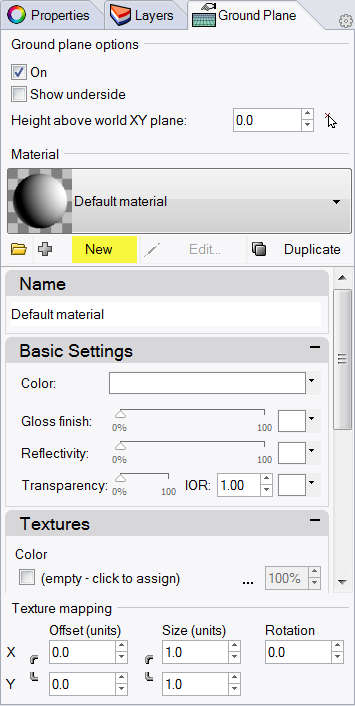
- In Ground Plane panel, click the down arrow next to the Yellow_Glossy material.
- When the list of materials appears, click Default material.A new default material will be added.
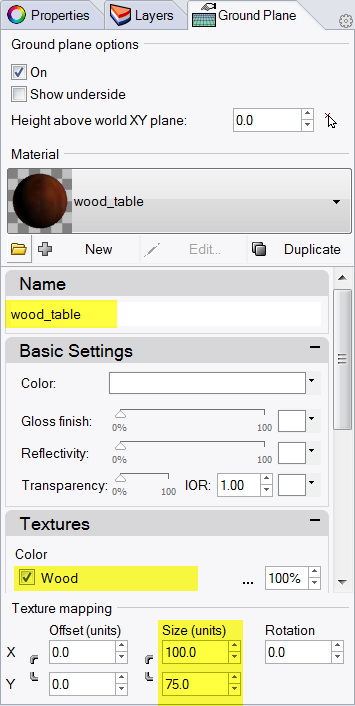
- In the Material Editor dialog in the Name area type Wood_table.
- In the Textures area, check Color texture.
- In the Open Bitmap dialog box, select Wood.jpg, and then click Open.
- In the Texture mapping area, type X size 100 and Y size 75 .


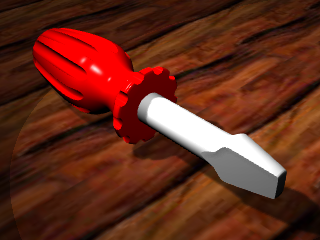
- From the Render menu click Render.
- From the File menu in the Render dialog, click Save As.
- Under Save as type, click PNG. enter your file name and location.
- Click Save button.The viewport will now show and render a wood ground plane.


 A display window appears with the current viewport rendered in colors, but it will probably lack detail. You can close the Display Window without disturbing your model. Placing lights will add depth and detail to the rendered image.


 Cleart Bump and click to assign Color texture.